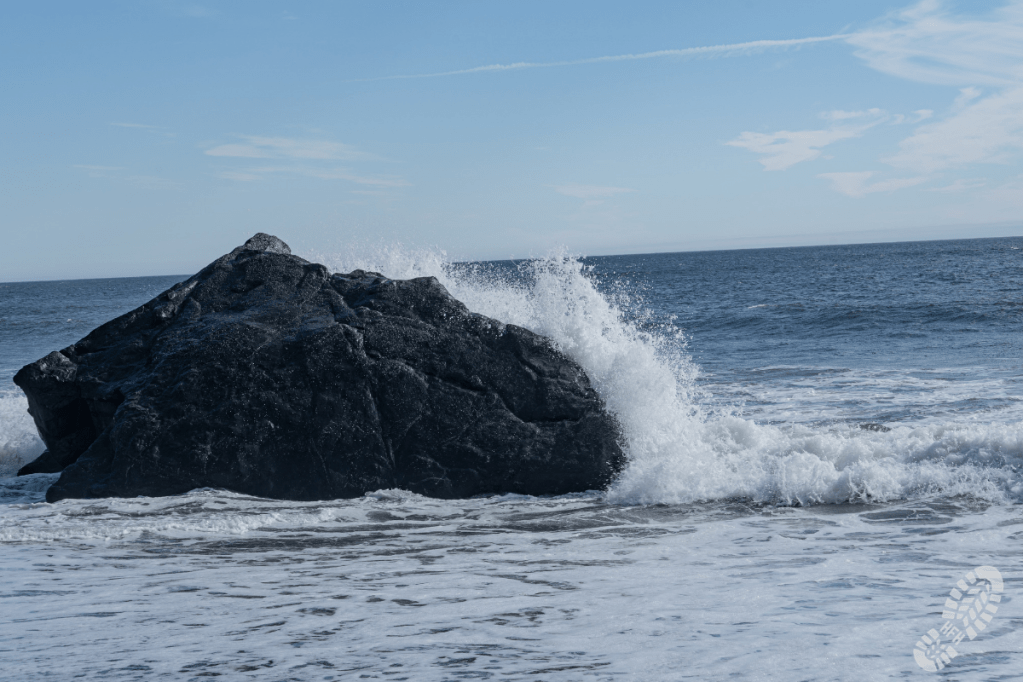
Yes, this may be about “camping,” but it’s really about the beach.

And the food. But we’ll get there! You can watch our hike out to the beach in the video HERE.

Let’s talk the camping business first. We rented a 20-foot R-Pod from a local dealer for the weekend, which involved picking it up, packing it, traveling with it, the whole nine-yards. If you already travel with some sort of recreational vehicle, then it’s old hat. If you’re considering it, let’s talk pros and cons:
Pros:
- There’s a bathroom that is extremely convenient.
- Also, there’s a kitchen for some easy prep (and you don’t necessarily have to whittle down to the MOST essential items to take, there’s some wiggle room with space).
- A bed that is not an air mattress.
- Did I mention the bathroom (WITH a shower)?
- Basically, the convenience factor rules all. Our site had electrical and city water hook-ups.
Cons:
- The drive takes longer because you’re towing.
- You need to be cognizant of your size, unfortunately, there aren’t always places to park 40ish feet worth of vehicle.
- Be ready to dump your gray water at the end of the weekend, if not sooner. That tank fills up FAST! We had a dump station on the way out of the campground.
Overall, we loved it and hope to take one out again on a longer excursion.
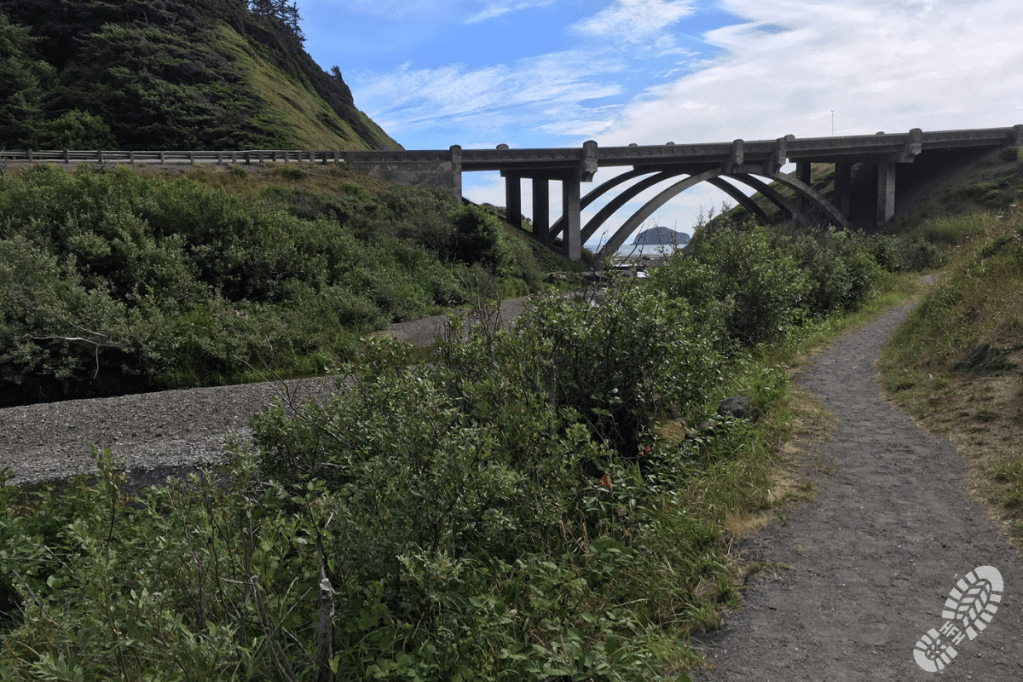
One of my FAVORITE parts of the Humbug Mountain State Park campground was the direct access to a beach. Through the campground was the only way to get there.

Camping also means FOOD! Having a sink and drawers with all my favorite tools was a dream for prep. Unlike the trip to Second Beach, my only pre-trip prep involved a pizza dough that turned into a bust, and my favorite tomato sauce recipe.

For dinner on Friday night, we made Apple Cheddar Burgers, and they were divine! The only thing we did different from the recipe, was that we used Gouda cheese instead of Vermont cheddar. It’s probably sacrilege since I should have picked up some Tillamook cheese, but I was looking for something pre-sliced and easy to melt.
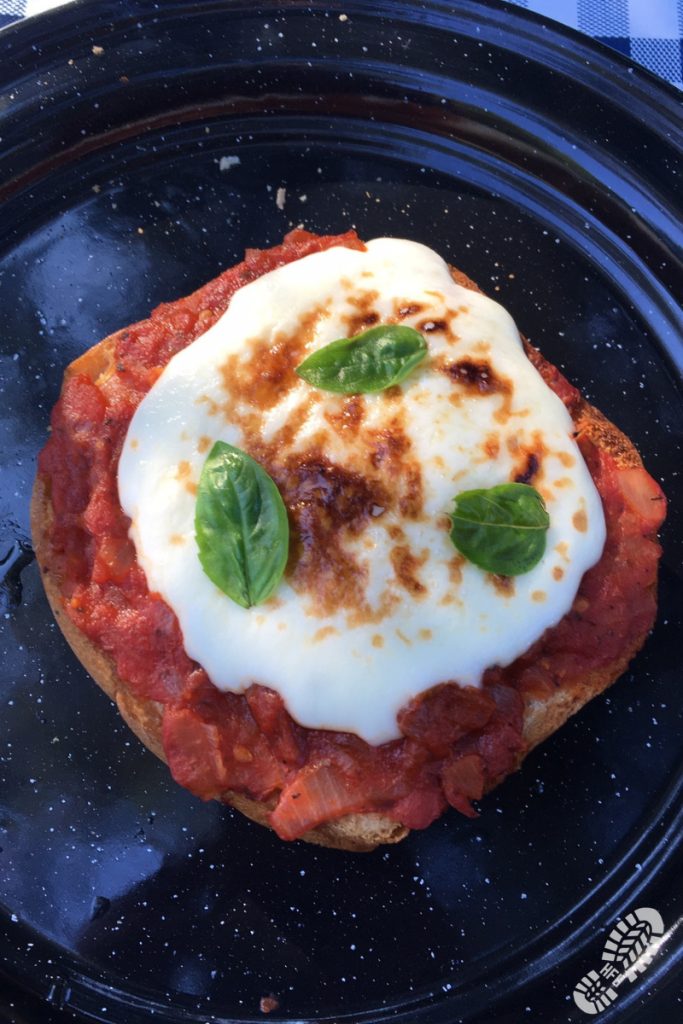
Dinner on Saturday night was more of a surprise. The aforementioned pizza dough didn’t work out, so in a pinch we grabbed the leftover hamburger buns and had impromptu personal margherita pizzas!
It could not have been simpler!
Cast Iron Mini-Pizzas
Ingredients:
- Hamburger Buns — something hearty that can take toppings
- Everyday Tomato Sauce — see link above
- Ball of Mozzarella Cheese, sliced
- Basil Leaves
- Olive Oil
Preparation:
- Heat a cast iron skillet over the fire. Once warmed, place hamburger bun(s) with the cut side down.
- When your burger buns have reached an acceptable level of toasty-ness (ours took 3-5 minutes, but it depends on how hot your fire is), remove from skillet and move to prep area. Pile on the tomato sauce and one slice of mozzarella.
- Put the buns with toppings back in the cast iron and cover with a lid or foil. This helps to melt the cheese. Ours took about 10 minutes each go-round.
- With your cheese melted, your sauce warmed up, and your bun a little crunchier, it’s time to remove from the cast iron and get ready to plate. At this point, we took a propane torch and got the cheese nice and bubbly and a bit browned. Added fresh basil and a wee bit of olive oil.
- Devour.
Happy Camping!
